Friday, October 28, 2016

The Start of Video and Photography!


Today in e-Comm we had a lot of fun with some of the equipment that we will use in the future of our e-Comm career! We also learned the purpose of the "6 shot system" and how it is used in photography. This was a quick project but also effective at teaching us what we needed to learn today.

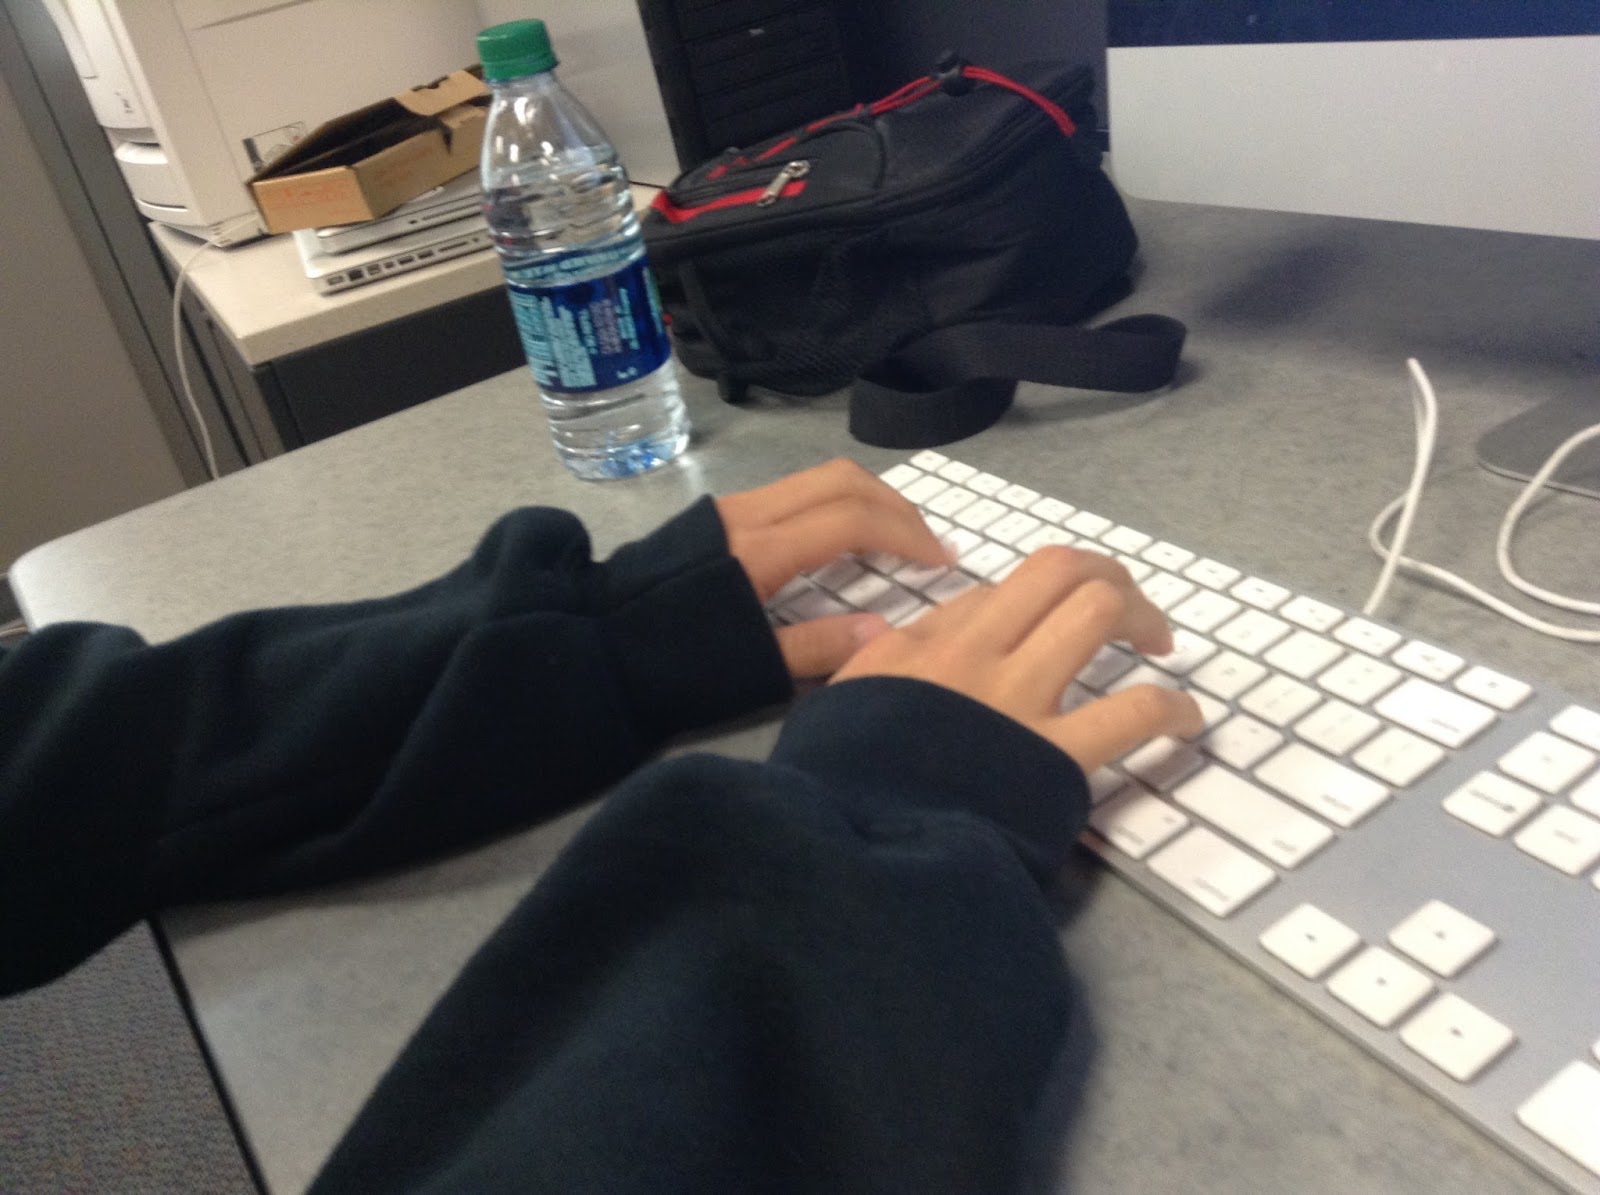
In my first photo I took, it was a close up of my partners hands. It has no fancy name or anything like that just a simple close up picture.


In my second photo I took a pic of Melia in a close up of the face.


In my third picture it was "over the shoulder" and its name is quite literal. Just a simple shot taken over the persons shoulder


My fourth picture was a "Medium shot" meaning that it focuses on the person and the setting that they are in.


My 5 shot was a wide shot, and this was my worst picture. I don't think I captured the setting and Melia they way I was intended to but next time will surely be better.
My last Picture was an "Extra wide shot" and in this type of picture the focus in not the person, it is the setting the person is in.


 Overview and results


This project's main focus was the 6 shot system and the system is used to highlight certain aspects of a photo/video. The 6 shots are used often within entertainment through all sorts of media and learning this will help me understand video fundamentals. I believe that some of the pictures I took could have been much better if I had a little better understanding of the system.

Tuesday, October 18, 2016

Hello, my name is Collin Genter and I am apart of the e-Comm program at Olathe North West. I often help my friends with computer issues and projects and enjoy doing so. I am looking for someone to help me pursue a career in animation and vide editing. I want a job that will be enjoyable to work in and a environment thats engaging.

Monday, October 17, 2016


 My latest project and last project was by far the most fun to create. We had a lot of freedom with the project and we basically could make whatever we wanted within the projects limits. In this project we used a new program called "SketchUp" which is a program that is used to create 3d models for things such as buildings!

Creating the house is a VERY fun process. We were all able to choose our own house to create after learning the basics of Sketchup. After choosing what house we were going to create we got into Sketch up and literally just had fun making it. We used different tools and textures to make the house seem more realistic.


This project was SO FUN. I will most likely pursue 3d modeling in the future thanks to this project!

Wednesday, October 12, 2016

10 Strengths Animation

The Overview

This GIF was my third E comm animation project! This GIF was actually supposed to be a video but I will get back to that in a bit but the GIF was an animation of a activity called "10 strengths" and what we did was come up with 10 strengths about our character that make you who you are. We came up with the words outside of Photoshop (PS for short) and then created the animation.

The Process of Creating the Animation

The animation process was MUCH easier in this project because we did not have to create each frame/layer, this is because instead of creating a Layered animation we created a video time line to work with. This allowed us to create the project much faster and it was less grinding through the project and more of thinking what we wanted to do with it. So before we ever used PS for this project we developed 10 strengths mine being Competitive, Extrovert, Planner, Focus, Responsibility, Strategic, Energetic, Social, Funny, and Analytical. We also selected a background image and I decided to go with a lightning bolt because of my electric personality (If you know me then you defiantly know what im talking about.) Once we got into PS we created 11 layers, 10 word layers and a background image layer. Before we did anything else we could edit the background image with different filter and color adjustments. Once we did this we created a video and edited the layers. Each layer was given a timeline and you could edit how long you had it in the video, where it came from, and how it got there and the overall size of the layer/ word. I had the background stay during the entire video but the words came in differently.

Problems That I Encountered

There was only one real issue with the project. The file type. The file was saved as a GIF file which is different from a video file, this was an issue for just about half of my class so it was not an actual fault of mine. This problem was resolved by just making it a GIF file instead of a video.

The Final Product

The final product was just what I was thinking it would look like because I am kinda familiar with these types of animation but it still looks really cool in my opinion!

Thanks for Reading!